It’s a daunting task to tackle gelcoat repair on boats. I’ve seen my fair share of boats and the wear and tear that comes with them. Over time, gel coats on boats can become cracked or chipped, leaving the boat looking worn down and worse for wear. Fortunately, it doesn’t have to stay that way; with some elbow grease and know-how, anyone can learn how to repair gel coat on boats. In this guide, we’ll cover everything you need to know, from preparation tips to tools required and steps to take. So let’s get started!
Overview Of The Process
The process of restoring your boat’s gel coat starts with understanding what exactly needs to be repaired – whether it’s scratches or chips in the surface of the gel coat that need buffing out or more serious damage requiring patching up. Then, with the right know-how, it can be done smoothly like butter on bread. Either way, certain steps should be taken before beginning any gelcoat repair procedure.
Once you’ve identified the issue and any tools needed for the job, you’ll know what materials will work best for your specific project – whether it’s epoxy resin patches, sandpaper pads, compound waxes, etcetera. Knowing this information beforehand helps make the entire gelcoat repair process much easier than going in blind.
Preparation For Gelcoat Repair
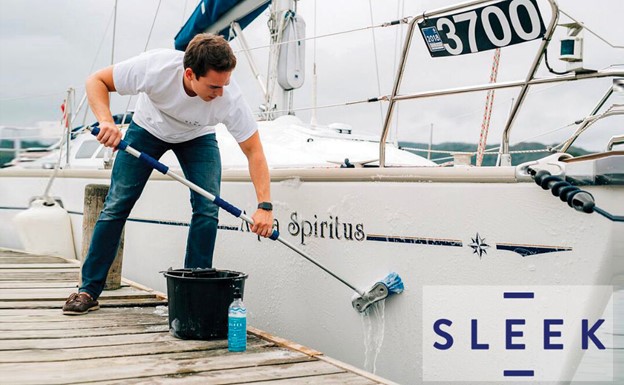
Before you start gelcoat repair on your boat, it’s important to prepare the work surface properly. This will make the gelcoat repair process go smoother and ensure the long-term success of the fix.
Here are some steps for prepping your boat before beginning a gelcoat repair:
- Surface Cleaning:
- Use a non-abrasive cleaner to remove dirt, debris, and oils from the repaired area. You may need to use an orbital sander with light pressure to get rid of tougher stains or oxidation build-up.
- Rinse any residue left behind after cleaning with fresh water to avoid introducing contaminants into the gelcoat repair mix.
- Surface Cleaning:
- Damaged Area Preparation:
- Sand down around the damaged area until you reach bare fiberglass; this is necessary for providing a good adhesive bond between the new gel coat and the existing material.
- Apply wax or mold release agent over all nearby surfaces that could be affected by overspray during the application, so they don’t stick together when dry.
- Damaged Area Preparation:
After thoroughly preparing your boat, you can begin assessing damage and continuing with your gel coat project.
Identifying Damage
Marine fiberglass technicians need to be able to identify damage on boats accurately. To ensure that gelcoat repair is done correctly and safely, it’s important to recognize those damages early.
Below is a table showing common types of boat gel coat damage:
| Damage Type | Description | Prevention Tips |
|---|---|---|
|
Scratches/Gouges
Fading
Cracks
Blistering/Crazing |
Surface scratches or gouges caused by abrasive objects such as sandpaper, rocks, etc.
Loss of color due to sun exposure
Hairline cracks that typically appear near the water line
Tiny blisters along the surface from moisture trapped beneath the gel coat layer |
Regularly inspect your vessel for any sharp items that could cause scratches and remove them immediately
Keep your boat out of direct sunlight when possible; wax regularly with UV protection wax Inspect your hull often for signs of cracking; use proper grade epoxy resin filler during the repair process.
Check the condition of the gel coat frequently; use proper ventilation when storing your vessel indoors |
Knowing how to spot potential problems before they become severe gives you an advantage in ensuring your vessel maintains its value and integrity over time.
Applying The Gel Coat
Repairing boat gel coat damage requires the right materials and a few steps. First, prep the area to be repaired by cleaning it thoroughly with soap and water. Next, use sandpaper to remove loose fibers or old gel coats from the boat’s surface. Sand until you’ve created a clean, smooth patch ready for gelcoat repair. Once prepped, mix up your gel coat according to product instructions and apply using a squeegee or brush. Make sure to fill in all cracks and crevices before applying additional coats. Lastly, focus on achieving an even finish, as this will help ensure lasting protection against further damage.
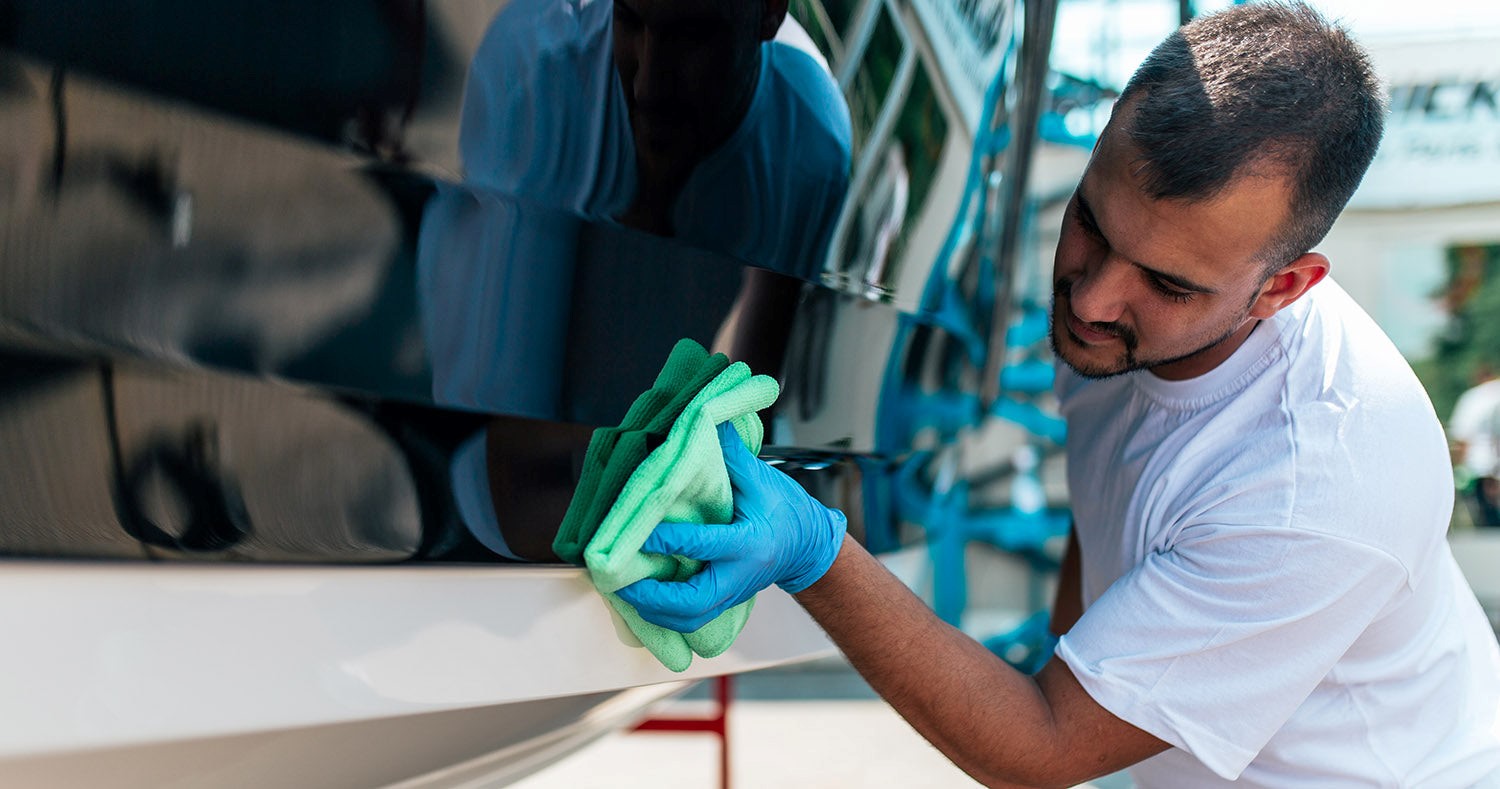
Finishing Touches
After applying the gel coat, it’s time to add those finishing touches to make your vessel look new again! Here are some steps you can follow to achieve this goal:
- Polishing: Use a high-grade polisher and wax combination to buff out any scratches or imperfections on the surface.
- Waxing: This will help protect the finish from UV damage and provide an extra layer of shine.
- Buffing: Use a soft cloth and light pressure when buffing the gel coat for the best results.
- Cleaning: A routine with soap, water, and a sponge will keep dirt and other debris off of the boat’s hull.
- Sealing: Finally, apply a sealant product specifically designed for fiberglass boats to further protect your vessel from wear and tear caused by elements such as sun exposure and saltwater spray.

Frequently Asked Questions
What Type Of Tools Are Needed For The Gelcoat Repair Process?
Marine repair tools are essential when working with any kind of boat gelcoat repair project, and having quality supplies can make all the difference in achieving professional-level results.
For starters, abrasives like sandpaper and grinding discs will be required to remove surface imperfections from the boat’s hull before applying a new gel coat. Sanding blocks and specialty scrapers can also smooth out scratches and dings that have occurred over time. Orbital buffers work great at restoring areas where a lot of material has been lost due to wear or other causes.
Is It Possible To Use A Different Type Of Material Instead Of Gel Coat?
Gelcoat has traditionally been the go-to option when it comes to gelcoat repair on boats, but there may be alternative materials that offer advantages over traditional methods. Factors such as flexibility, corrosion resistance, UV protection, heat resistance, and impact toughness must all be considered when selecting an alternate material for boat repairs. Additionally, depending on the severity of damage caused by wear and tear or accidental impacts, certain characteristics may need to be prioritized over others to ensure successful results with your chosen repair product.
How Long Does The Gelcoat Repair Process Typically Take?
It might seem like an eternity until you finally get your boat looking good as new again! Whether you’re talking about boat repair time or even just considering how long repairs will typically last when using a gel coat, it’s enough to make anyone want to pull their hair out in frustration. Some factors may affect the duration of the job – such as age, size, and condition of the boat – but with proper expertise and preparation, you could be sailing away sooner than expected!
Is The Repair Process Suitable For A Novice?
It’s no surprise that gel coat repair is a tricky process, but whether it’s suitable for a novice may be a bit more complicated. If you’re an absolute beginner in boat repair, I’d suggest leaving the job to the pros.
If you’ve got a good grasp of these concepts and feel confident about tackling the project yourself, go ahead! With patience and practice, even novice boat owners can get up to speed when applying for their gel coat patching or restoration work. The key is simply taking your time during each step of the process to ensure everything is done properly, from prepping the area correctly to finishing with proper coating procedures.
Is The Gelcoat Repair Process Suitable For All Types Of Boats?
Different boat materials require different repair processes and expertise levels. For example, suppose you are working with fiberglass or composite material boats. You need someone with experience dealing with these materials and their unique characteristics when performing repairs. If you do not have the necessary skillset or knowledge base to perform this work, it would be best to seek professional help from an experienced marine fiberglass technician.
Conclusion
The process of repairing gel coats on boats is a challenging one. But, with the right tools and some knowledge, it can be a breeze to tackle! When completing this repair job, the most important thing is to ensure you have everything you need beforehand and take your time throughout each step.
Hopefully, you’ve learned so much on how to repair gelcoat on boats properly. Contact us if you need comprehensive boat repair or maintenance.