If you’re a boat owner, your fiberglass boat hull will need repair at some point. Don’t worry, though – it’s not as daunting of a task as it may seem! Anyone can easily repair a boat hull with the right tools and knowledge of boat maintenance management. As a licensed safety and first aid USCG Captain, I’m here to provide you with all the information necessary, so you can get back out on the water without worrying too much about how to repair fiberglass boat hull correctly. Let me walk you through everything from gathering materials to applying the final touches. By following my advice, you’ll soon have your boat looking like new again!
Overview Of The Process
Coincidentally, a large part of boat repairs is related to the hull. Whether made from aluminum or fiberglass boat hulls often require attention and maintenance.
The first step in any repair job is preparation – gathering all the necessary tools and materials beforehand, so you don’t have to keep running back and forth while working. The same applies here; preparing your workspace by cleaning off dirt, debris, and old paint helps ensure a successful outcome for repairing your fiberglass boat hull. Once prepped, use a putty knife or similar tool to remove any fragments still attached to the surface.
Next up are the actual repair steps. Begin by sanding down the affected area with 80-grit paper until it’s smooth enough to apply filler material like epoxy resin or polyester resin filler paste – both excellent choices for filling small cracks or holes in a fiberglass boat hull. After allowing adequate drying time (as specified by product instructions), apply primer followed by multiple layers of marine-grade automotive paint until desired results are achieved.
Finally, finish with two coats of clear varnish or urethane sealant for added protection against environmental elements such as saltwater exposure or sunlight damage.
Tools And Materials Needed
You’ll need epoxy resin, which comes in two parts: the resin and the hardener. This is used for filling holes or cracks in the hull caused by wear and tear or damage. You may also need gel coat paste; this will keep your paint job looking great after it’s been applied.
The most important tool here is a power drill with a hole saw attachment – this will be necessary for drilling out old hardware from your hull as part of the repair process. A good rubber mallet can come in handy when installing new hardware; just make sure that whatever hardware you use is compatible with your type of boat before purchasing it. Other items like rags, clamps, protective eyewear, and gloves should all be included in your toolkit so that you have everything you need close during the repairs.
Preparing The Fiberglass Boat Hull For Repair
To properly repair a fiberglass boat hull, preparation is paramount. To start this important process, one must first assess the damage on the hull and remove any debris that may have accumulated over time. A successful repair can be achieved confidently with careful consideration of these steps.
To begin preparing for repairs:
- Thoroughly inspect the area of damage to get an accurate understanding of what needs to be done
- Clear away any loose paint or surface buildup with sandpaper
- Vacuum out all dirt and dust from within the damaged area
- Use epoxy resin filler to seal off any open cracks in the hull before starting repairs
By following these simple steps when prepping a fiberglass boat hull, one can ensure that they are taking proactive measures towards making a lasting repair.
Making Repairs To The Hull
Now that you’ve prepped the hull for repair, it’s time to fix any damage. This can be done through various fiberglass boat hull repair techniques, including patching holes and sanding fiberglass boat hull.
Start patching holes or dents in the hull with epoxy resin. Mix equal parts of epoxy resin and hardener according to their instructions. Apply the mixture liberally over the affected area using a putty knife. Allow it to dry before continuing sanding.
To smooth out scratches and imperfections, start sanding off the top layer of fiberglass boat hull with medium-grit sandpaper. Use an orbital sander if possible; this will help ensure an even finish after repairs and allow for more precise control. Keep track of your progress, so you don’t accidentally go too deep into the material during sanding!
Finishing Up The Repair
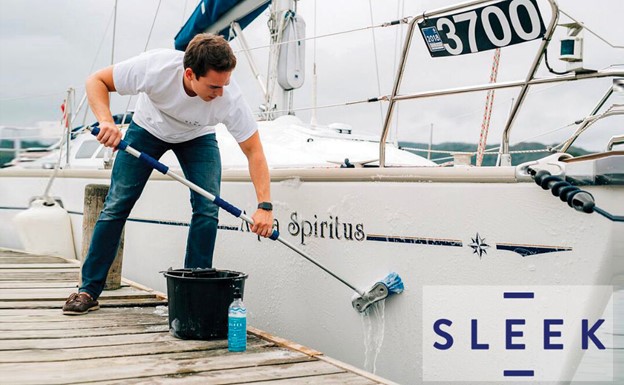
Once the fiberglass boat hull is completely repaired, it’s time to finish up and make sure everything looks perfect. This will involve a lot of polishing, sanding, waxing, painting, and varnishing – all of which can feel like an eternity!
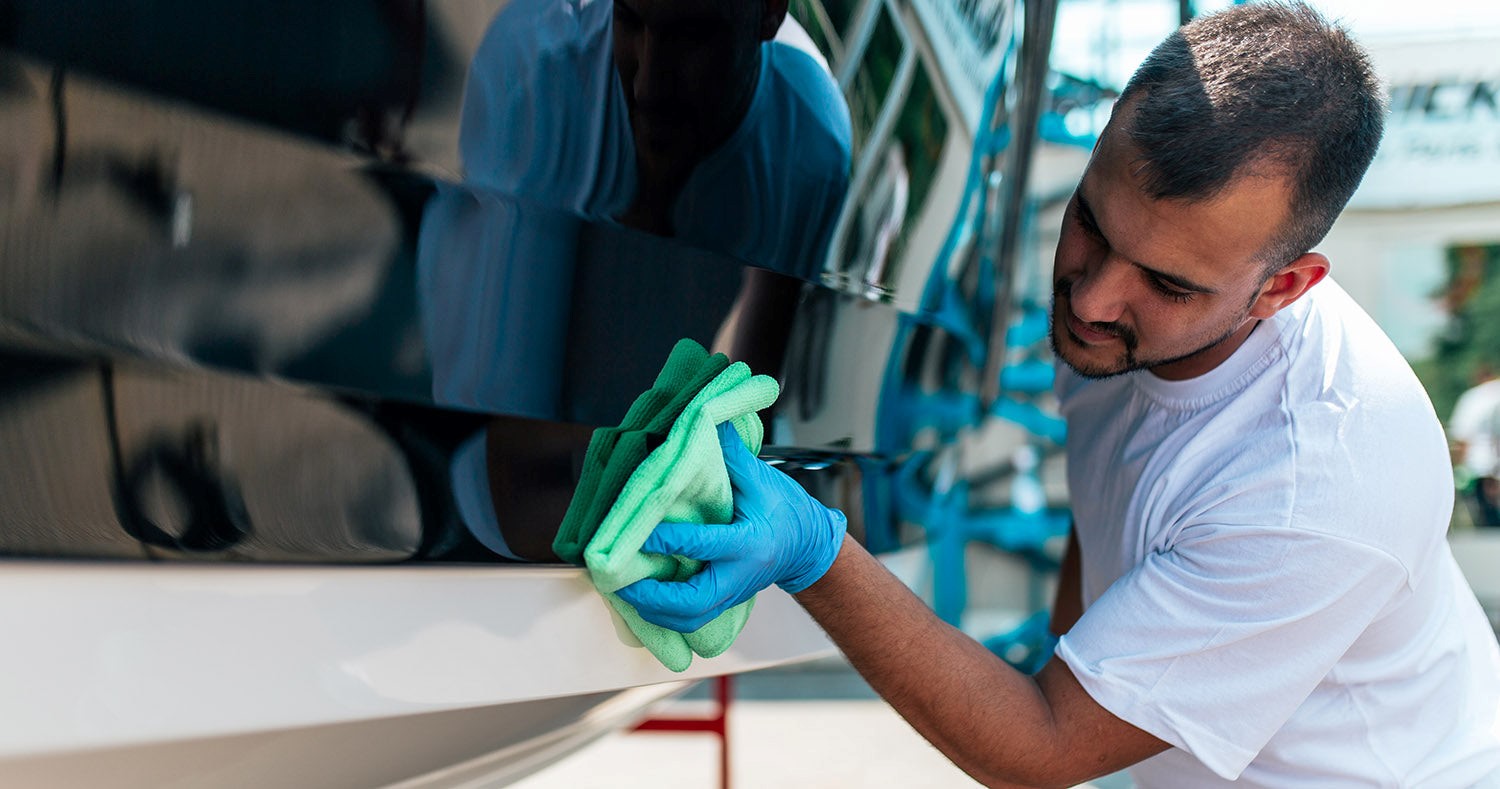
The first step is to properly sand all areas before applying any paint or varnish. You’ll want to use 220-grit sandpaper for this task – anything coarser could scratch off the epoxy resin used during repair. Once finished sanding, wipe away any dust residue using a damp cloth. Then move on to polishing with fine steel wool or a buffing pad to create a smooth surface – this will take care of any imperfections from repairs.
Once everything has been polished and is ready for coating, apply two layers of either primer or wax, depending on the material you plan to cover the area with. After that, you should apply two coats of marine-grade paint or three coats of clear varnish. With just one more coat left after this process, you’ll surely bring out a pristine shine on your newly repaired vessel worthy enough to show off at sea!
Frequently Asked Questions
How Long Does A Fiberglass Boat Hull Repair Typically Take?
When repairing a fiberglass boat hull, the time involved often depends on the damage. If you’re talking about minor scratches or dents, this could be done quickly with some basic supplies and know-how. On the other hand, if significant structural damage needs repair – such as cracks or breaks in the hull – then a more intensive approach will likely be required and may take longer to complete correctly.
No matter what type of repairs are being undertaken, preparation should always come first. Making sure everything is clean and debris-free before starting work can save much time later on.
Are There Any Special Environmental Considerations When Working With Fiberglass Boat Hulls?
Working on a fiberglass boat hull has special environmental considerations that must be considered. Fiberglass boat hull may contain hazardous materials that can impact the environment if not disposed of properly. It’s important to understand any special requirements for safely dealing with and disposing of these materials.
You need to identify the hazardous material in the fiberglass boat hull. Different types require different handling procedures, such as using protective gear like gloves or respirators when removing old layers of paint from the surface. Understanding how each type of hazardous material should be handled will help minimize your environmental footprint during repair work.
Are There Any Health Risks Associated With Working On Fiberglass Boat Hull?
The primary risk is exposure to dust particles created during sanding or grinding. This can contain irritating fibers and potentially hazardous chemicals used for laminating the boat’s structure. Therefore, always wear an approved respirator when working with fiberglass boat hull. Also, avoid contact between your skin and the material.
What Type Of Sealant Is Best To Use When Repairing A Fiberglass Boat Hull?
There are many options in choosing a sealant specifically designed for fiberglass repair. Typically, these products contain polyester resins or vinyl esters that provide excellent adhesion strength and durability when applied correctly. This ensures that any repairs made using this kind of sealant are strong enough to last over time without deteriorating due to moisture or other environmental factors. In addition, some specialized boat hull repair sealants can also help protect against UV rays from prolonged exposure to sunlight.
How Much Does It Cost To Repair A Fiberglass Boat Hull?
One of the first things people want to know is how much it will cost. Repairing a damaged hull can be expensive and time-consuming.
Firstly, the damage done will affect the price tag for repair costs. If the damage is severe or extensive, then more materials and labor will be needed than in a minor repair job. The exact materials used may also influence pricing – certain types are more expensive than others.
Secondly, depending on where you get your repairs done can make a difference too. Getting them done professionally at a marina might cost more but guarantees quality work, whereas DIY methods may reduce costs upfront but come with no warranty or guarantee.
Finally, remember that new parts such as hardware and accessories like cleats need to be purchased separately, so this should also be considered when budgeting for repairs.
Conclusion
It’s important to take time and care when repairing boat seats and fiberglass boat hull. It can be an expensive job, but it is also essential for maintaining your boat in good condition. The process may seem long and tedious at first, but once you get into the groove of things, it will become second nature. Keep in mind any environmental or health considerations when working on this type of project – safety always comes first!
At Boat Concierge, our expert team only uses market-grade sealants, epoxy resin filler, and proactive measures to ensure high-quality repair of fiberglass boat hull. Contact us today.